Video Creation
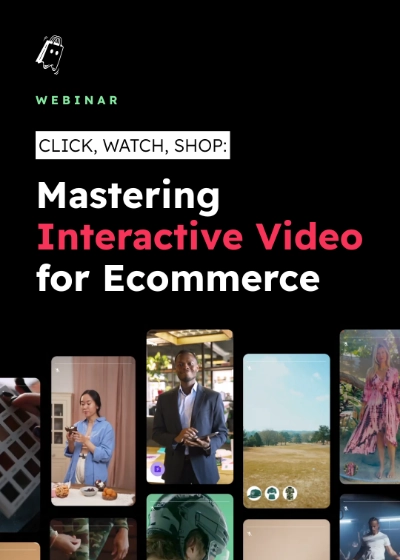
Vimeo Interactive Video Platform Overview 2024
Discover Vimeo’s interactive video capabilities and how it compares to Ghost. Drive engagement with clickable hotspots, shoppable video and more.
Create unlimited videos for Free
There's no cap on the number of videos you can upload, create and publish with Ghost.
New
Ecommerce
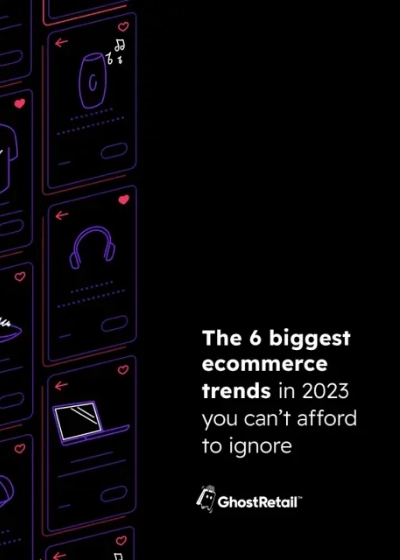
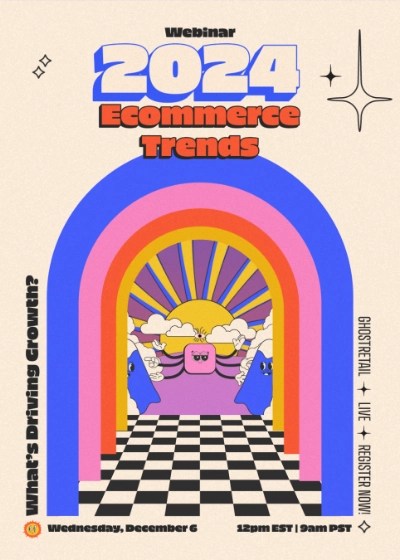
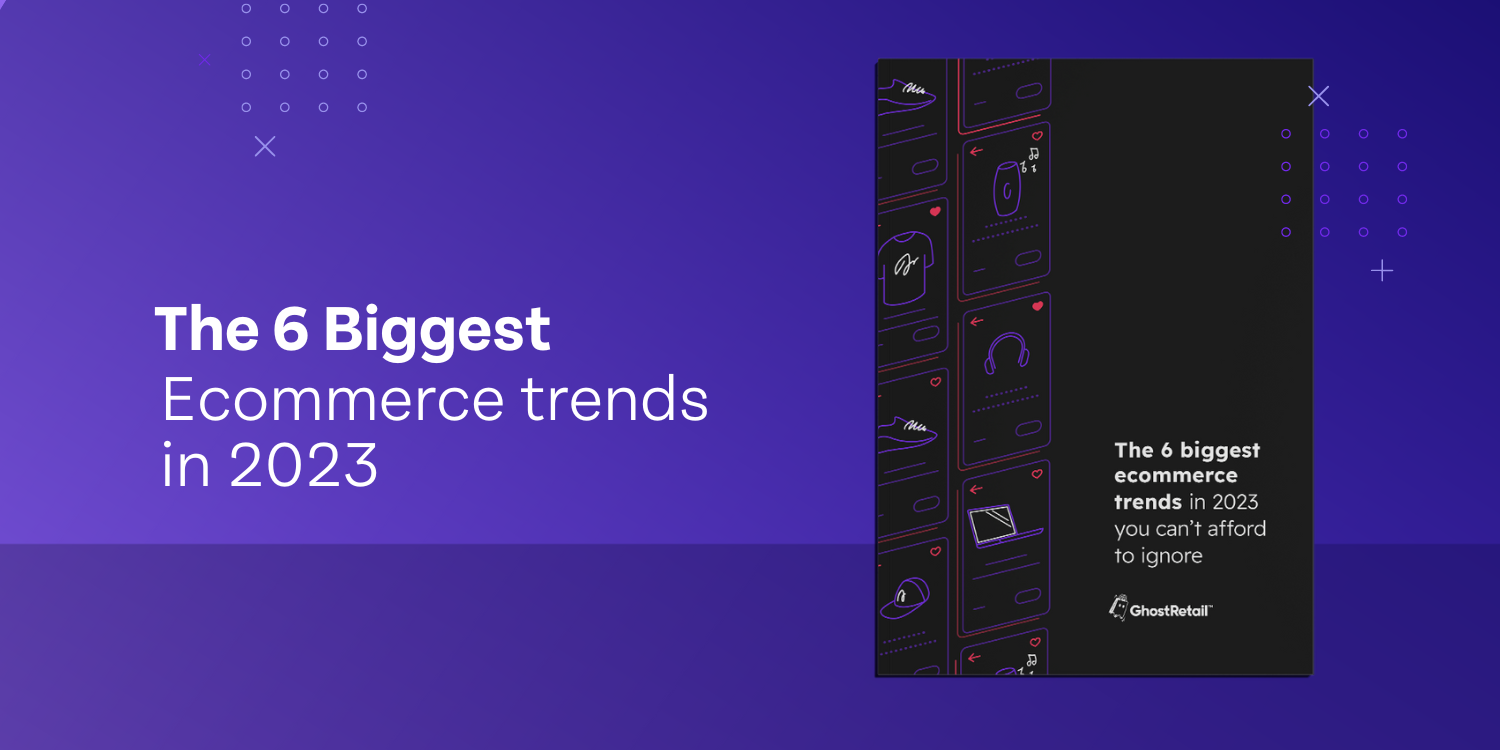
The 6 Biggest Ecommerce Trends in 2023 You Can't Afford to Ignore
A 2023 ecommerce trends guide like no other: We're focused on what's motivating shoppers to buy - including when, where, and how - at this very moment in time. Check out our 6 can't miss trends you need to adapt to in 2023.
Popular
Ecommerce
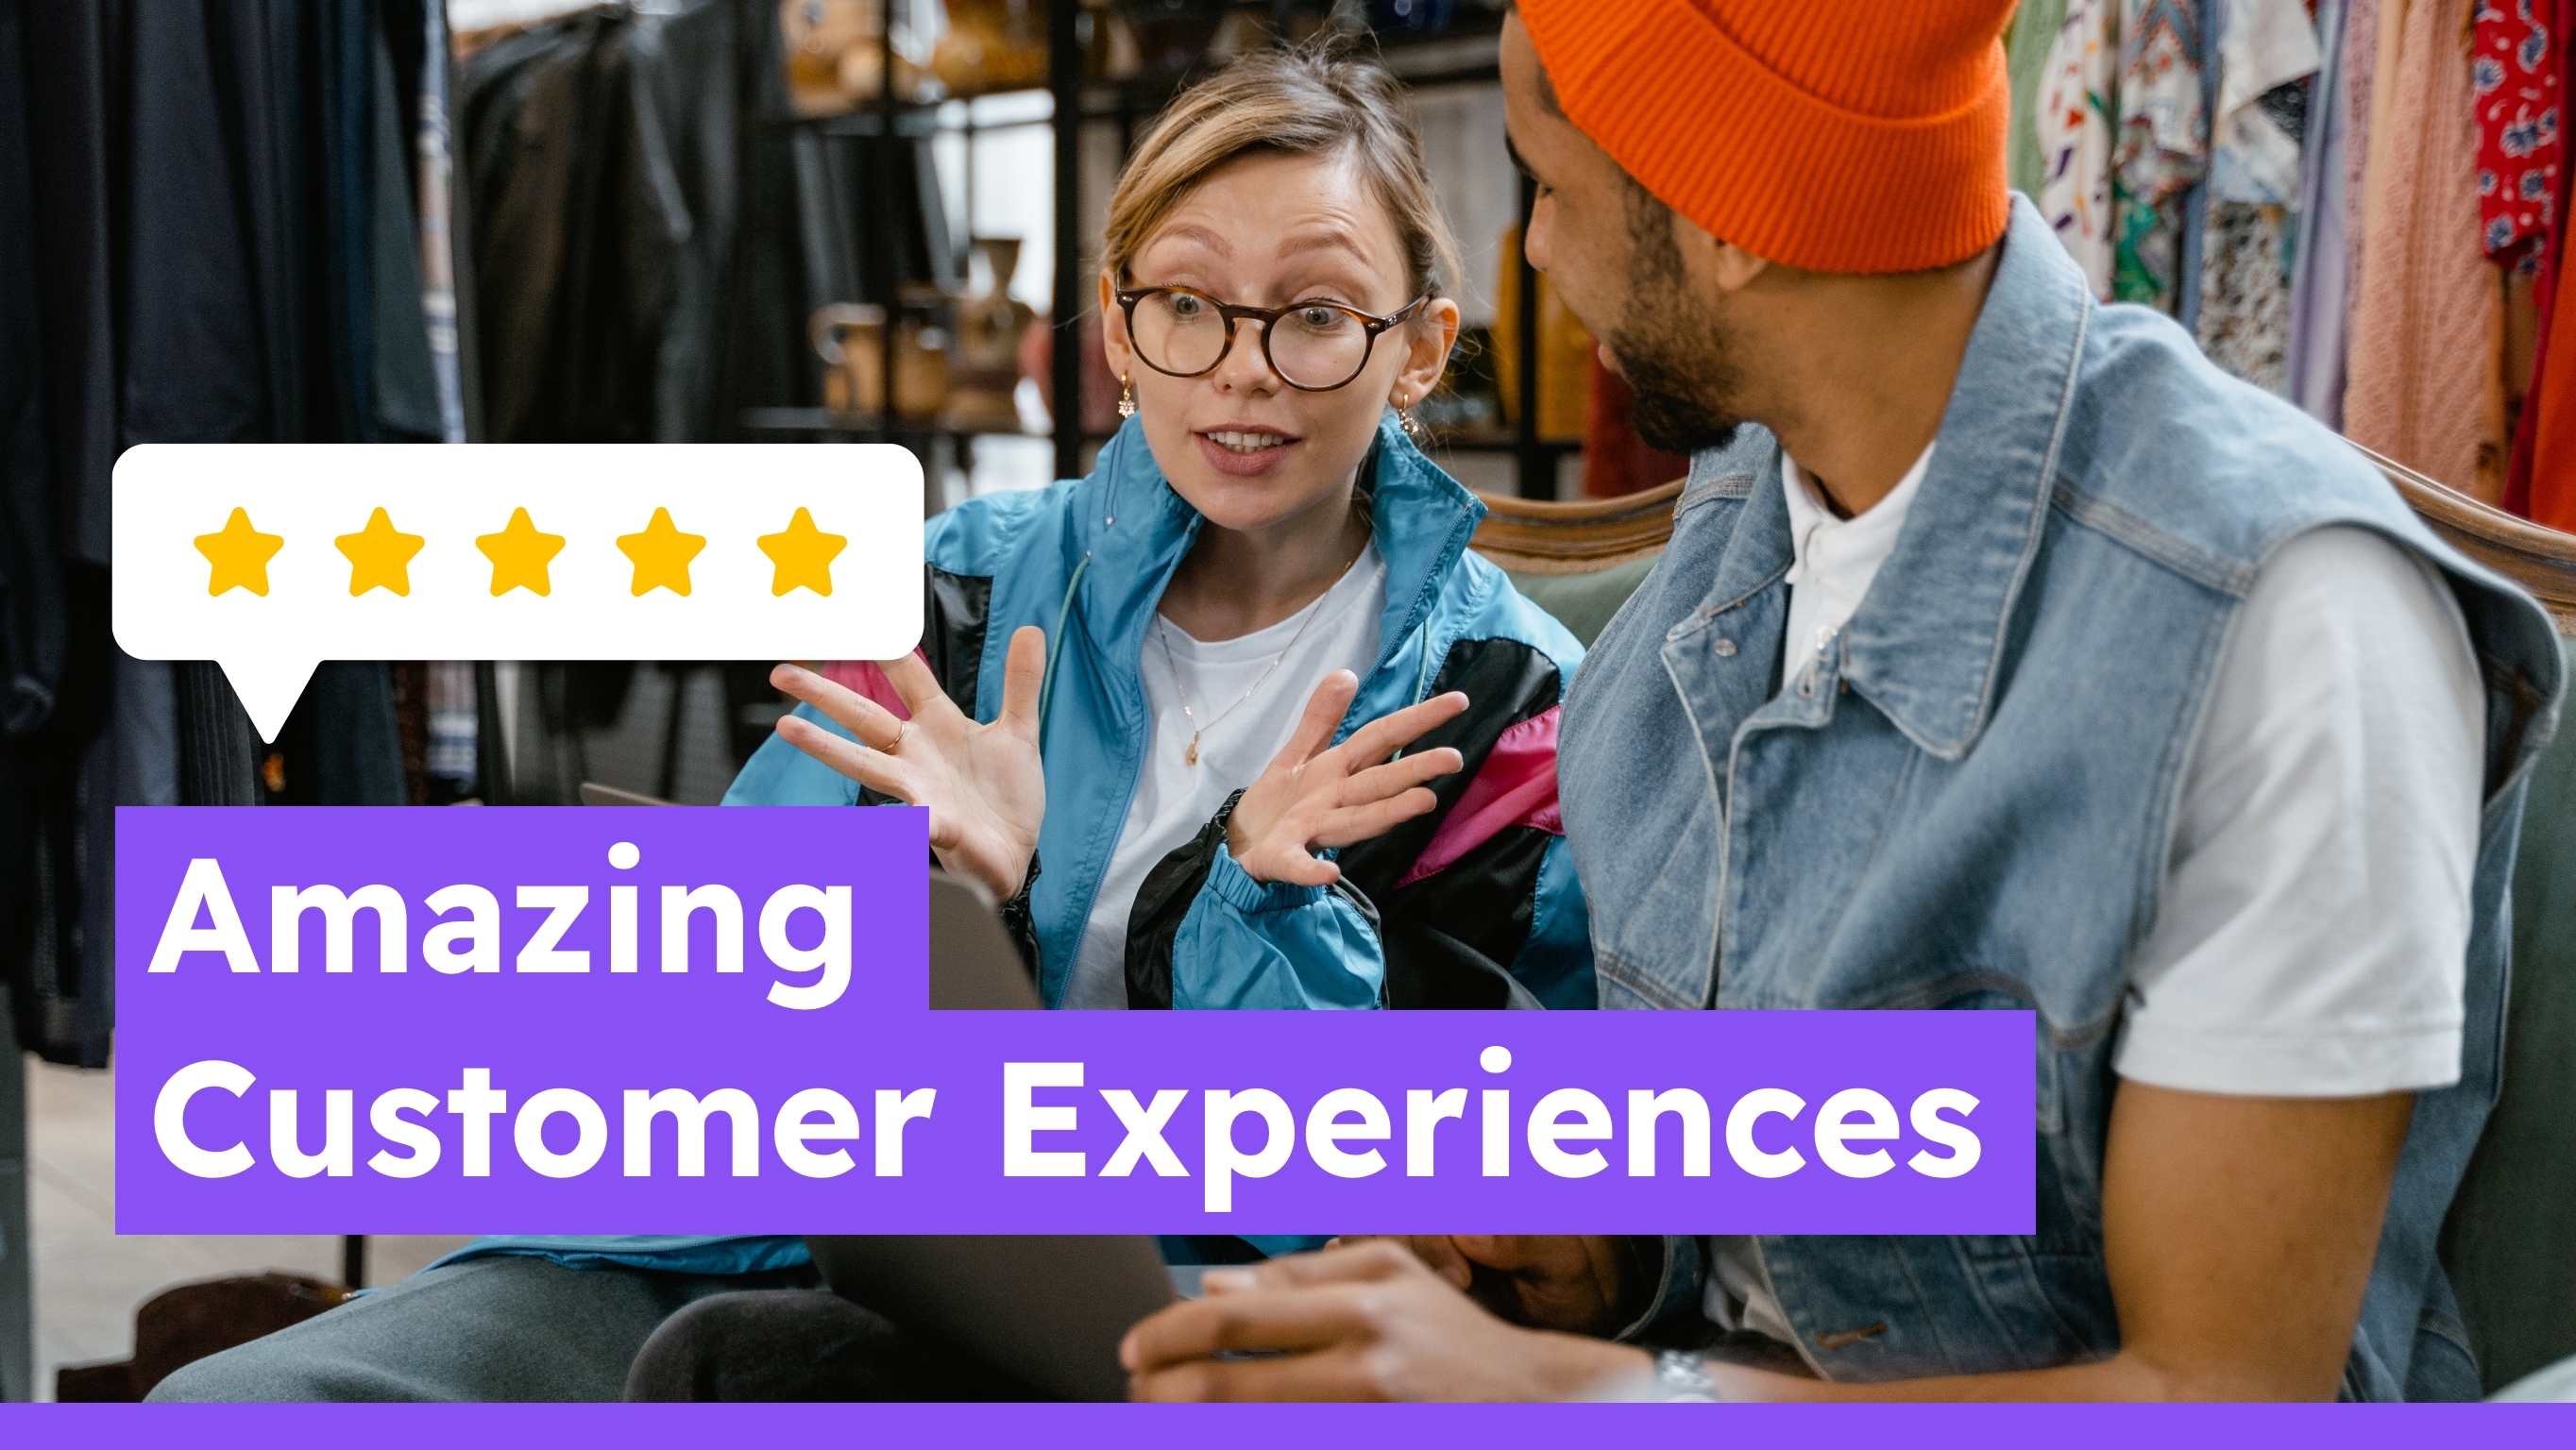
10 Ecommerce Brands Nailing Amazing Customer Experiences in 2023
Drop everything and read this: Our guide to 12 essential elements every customer experience strategy needs, plus 10 retailers that are killing it when it comes to the online CX.
Resources